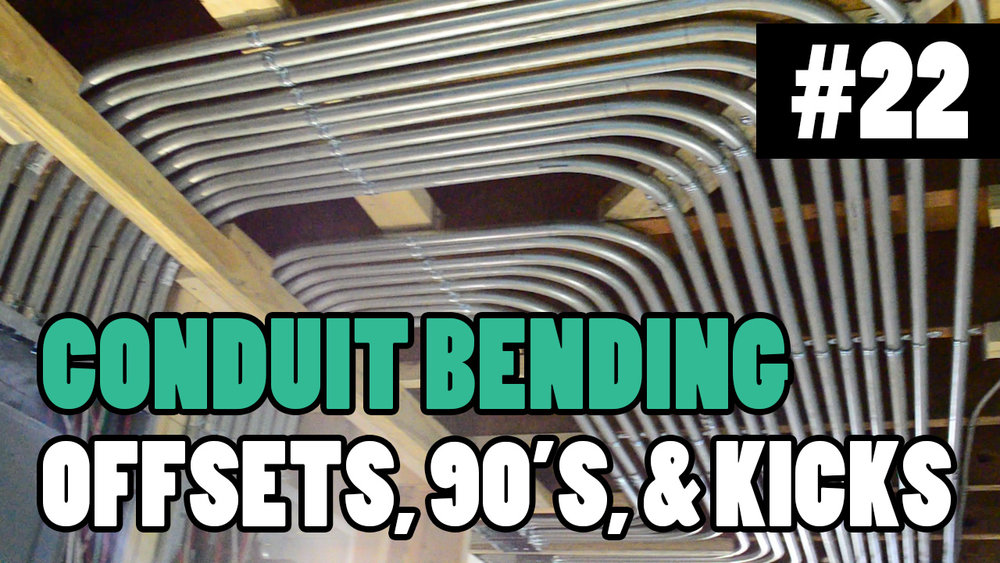
This is, no-doubt, my most asked for topic to do an episode. “Do an episode on bending conduit” they say….”It’ll be fun” they say… Well my friends, strap in, here we go….
First off there are some things to understand about different types of conduits. For example today we’re going to be bending EMT (Electrical Metallic Tubing). This type of conduit is relatively easy to bend using a bender if you’re bending 1/2”, 3/4”, or 1”. Once you get to about 1 1/4” and up this type of conduit requires a larger bender, and a lot of ass behind the person bending it. Normally in this situation a company will use a “Chicago Bender” or an “Machine Bender” (which is normally either electric, pneumatic, hydraulic) See below:
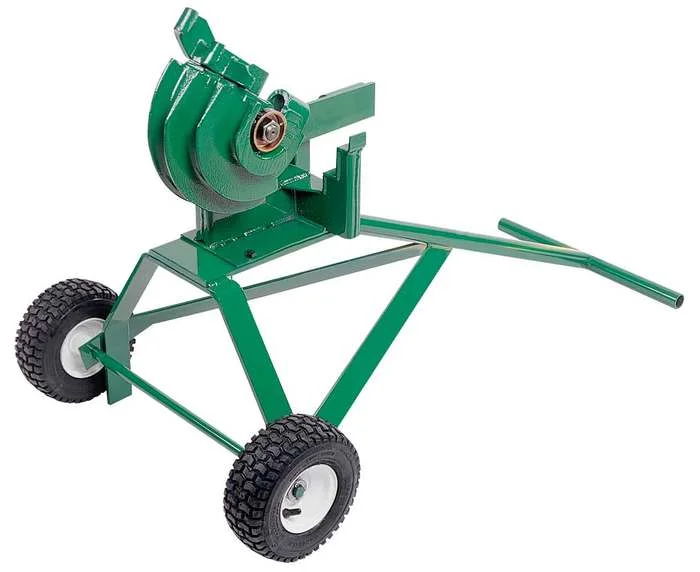
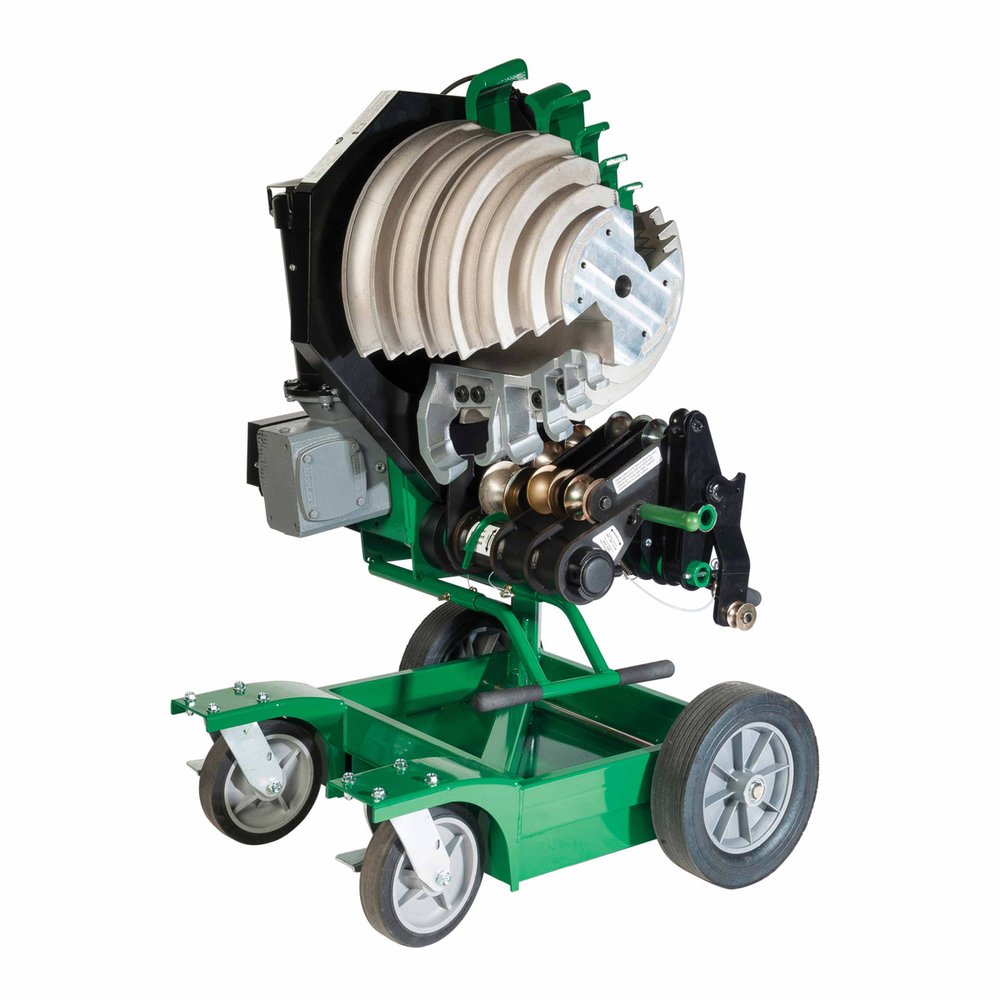
In our example we’re going to be dealing with 1/2”, 3/4”, and 1” EMT. This is the easiest conduit to bend, so for those of you practicing at home - choose 1/2” EMT to start with before moving up to 3/4” or 1” as the ease of use makes the understanding go further.
Understanding The Bender
First thing we talk about is understanding the bender. There are tons of little lines, marks, and numbers on the shoe of a conduit bender, and knowing which one does what is half the battle. To start off, every bender has stamped in it what type of conduit the bender is designed to be used for. A 1/2” bender will say “1/2” EMT Only” or something similar - usually located where the shoe meets the threaded end of the handle. If you flip the bender around 180 degrees, in the same spot there will be a stamp for what size takeoff you’ll need to use to achieve the proper bend with this bender.
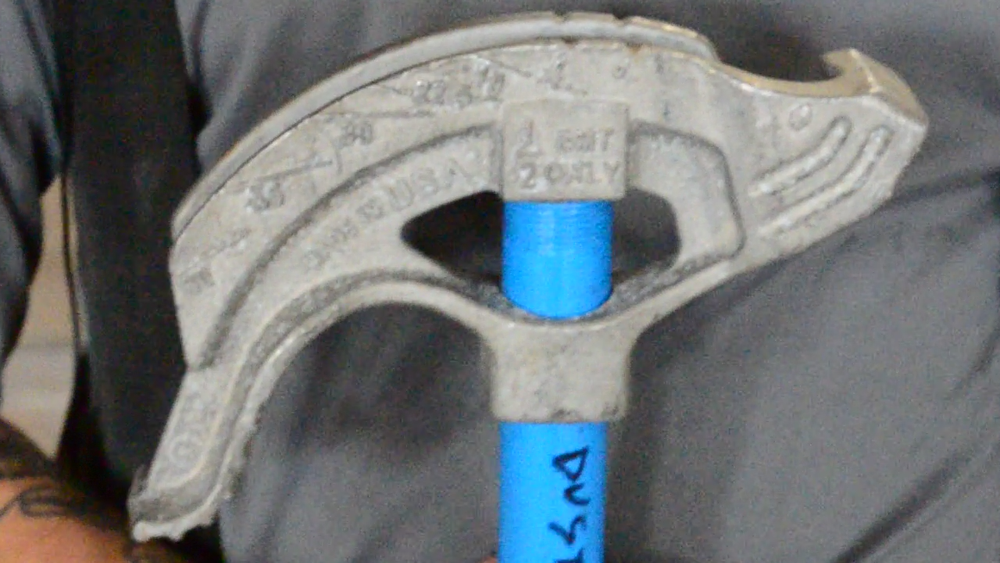
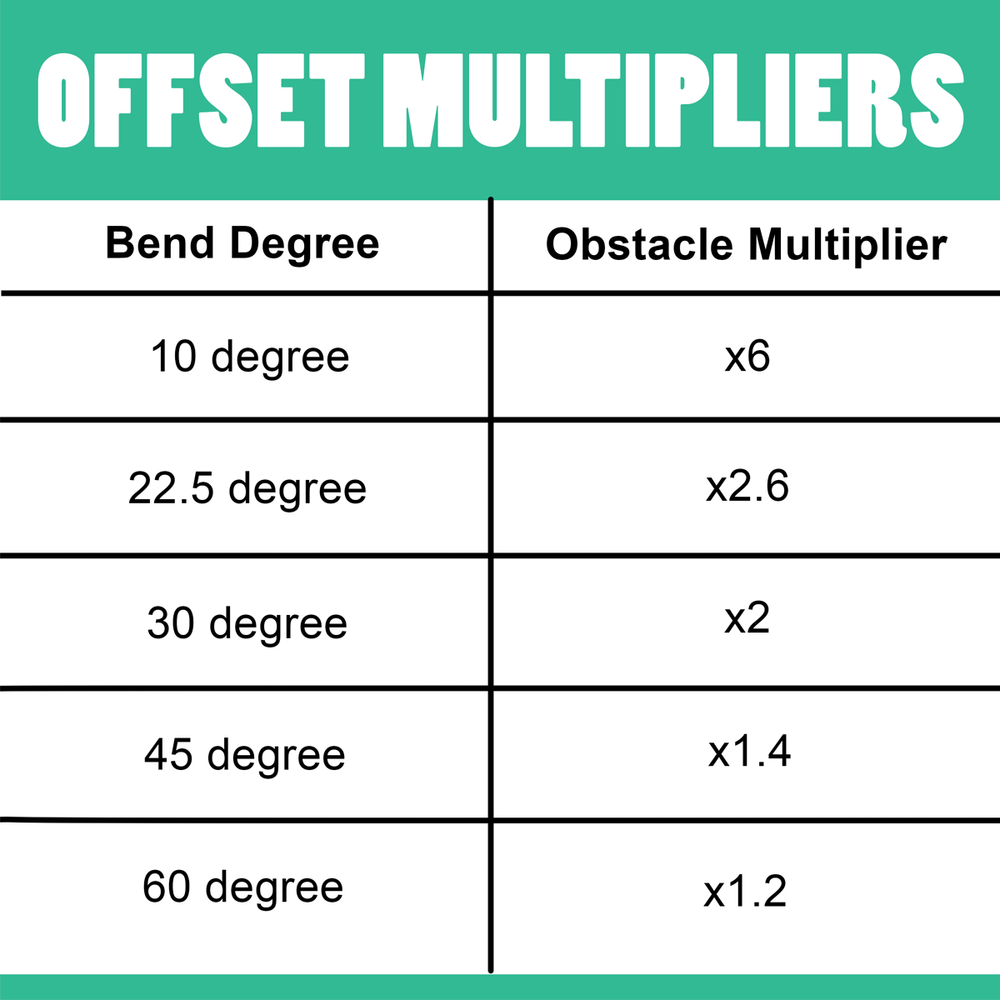
Next are the lines that say 10, 22.5, 30, 45, and 60 next to them. These are your angles of bend radius. To bend a 30 degree angle with a conduit bender, you bend the pipe up from the ground until the 30 degree line on the bender is parallel to the pipe and floor. You would flip the bender over and repeat this step if you were trying to bend a 30 degree offset to overcome an obstacle.
Probably the most important mark to learn is the “arrow” - this is the marker you’ll use most often when bending 90’s or offsets. If you need to bend a 90 or offset at 65” you’ll mark your pipe and line the arrow up with the mark, and bend accordingly.
Next is the “star” notch. The star is normally set along the same axis as the handle of the bender, and if you follow the bender from the handle all the way to the top of the shoe you’ll notice that this star notch is at the top dead center of the bender. You would use this star notch for bending a “backward 90” rather than doing a takeoff and using the arrow for a “forward 90”
The last mark we’ll talk about in this article is the “saddle” notch between the star and the arrow. Some benders will actually mark this with a half-circle around it, some do not mark it at all. The purpose of this notch is to mark the middle of a saddle bend, if you’re bending a 3-point saddle.
Bending A Forward 90
A forward 90 is a 90 degree bend made by measuring from the front side of a pipe (front being the side you’re looking at if you’re kneeling at the half way point of the pipe. The part of the pipe behind you is called the “back side” of the pipe. With a forward 90 you take a measurement from the end of the pipe and mark that measurement. If you need to bend a 90 to hit a wall or some arbitrary line, you’ll use this exact measurement to mark your pipe. From this measurement you’ll subtract whatever amount you need (depending on the size of the pipe) towards the end of the pipe you just measured from. So from your original mark you measure, AWAY FROM YOU, 6 inches with 3/4” EMT (electrical metallic tubing) and mark the pipe again. This mark is now your only important mark. The first mark no longer matters to us.
Next you’ll place your bender, facing the end of the pipe you just measured from, and align the arrow on the bender, with the deducted mark on the conduit. Stand on the shoe of the bender and press down with your foot firmly. DO NOT pull the handle of the bender towards you. You really want the downward force of your foot to do all the work, so that the conduit is being bent by the bending shoe, rather than by the force of your muscles. The worry here is that you could end up with the incorrect radius of a bend, and mess up your entire bend if you just rely on your arms.
Once you get the shoe almost all the way down to the pipe (keep a 1/8” to 1/4” space between the shoe and the pipe), pull the bender off of the pipe and stick a bubble torpedo level on the stubbed up portion of the conduit and make sure it is level. If your pipe is slightly over or underbent you can flip the bender over and use the hollow handle of the bender to slightly correct this. If the 90 is severely under-bent it is better to put the arrow back on the mark and continue bending. If it is severely over-bent, you may want to try bending a new piece entirely.
Stub 90
A stub-90 is a term used to describe making a bend at the very end of a piece of conduit. Sometimes you’ll use these when trying to get out of a box or above a grid ceiling.
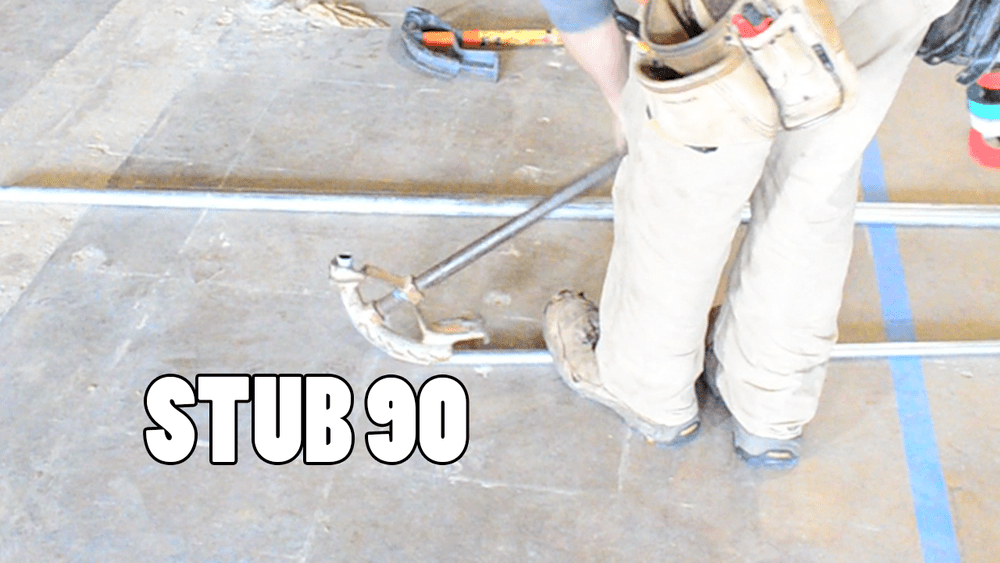
To bend a stub 90, you simply place the shoe of the bender (facing the end of the pipe), at the very end of the pipe. Press down on the shoe and the end of the conduit will bend straight up in the air. That’s it, just be sure to place your level on the pipe to ensure that your bend is exactly 90 degrees to the ground.
Box Offset
A box offset is a small and simple version of the standard typical offset. Offsets are used to clear a small obstacle, but in the case of a box offset it is really meant to hit a hole in a box or enclosure.
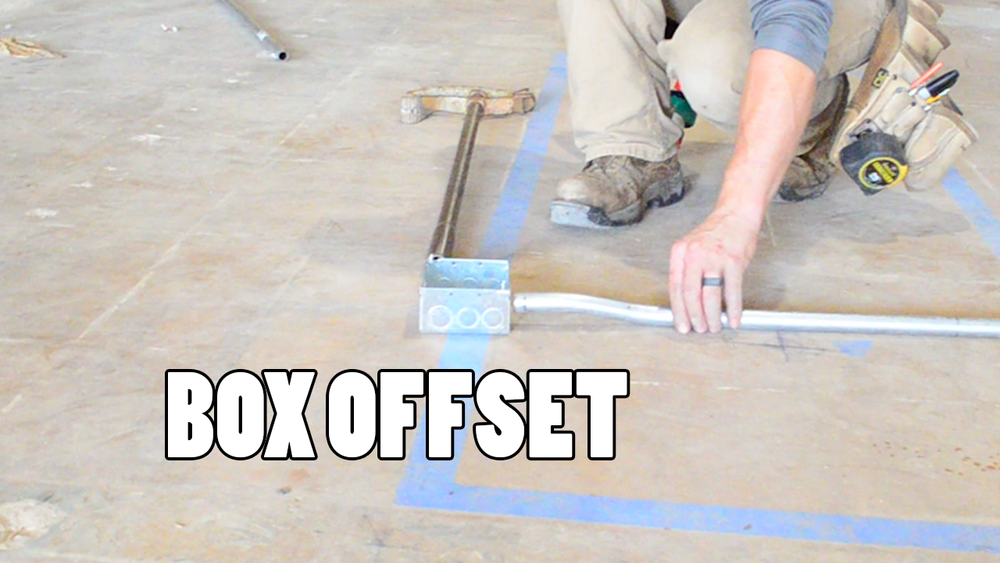
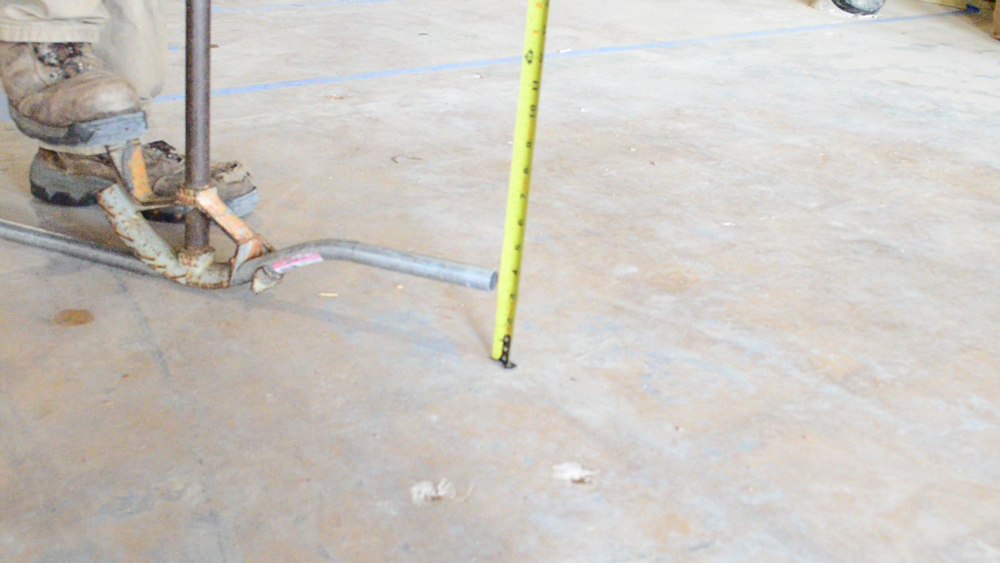
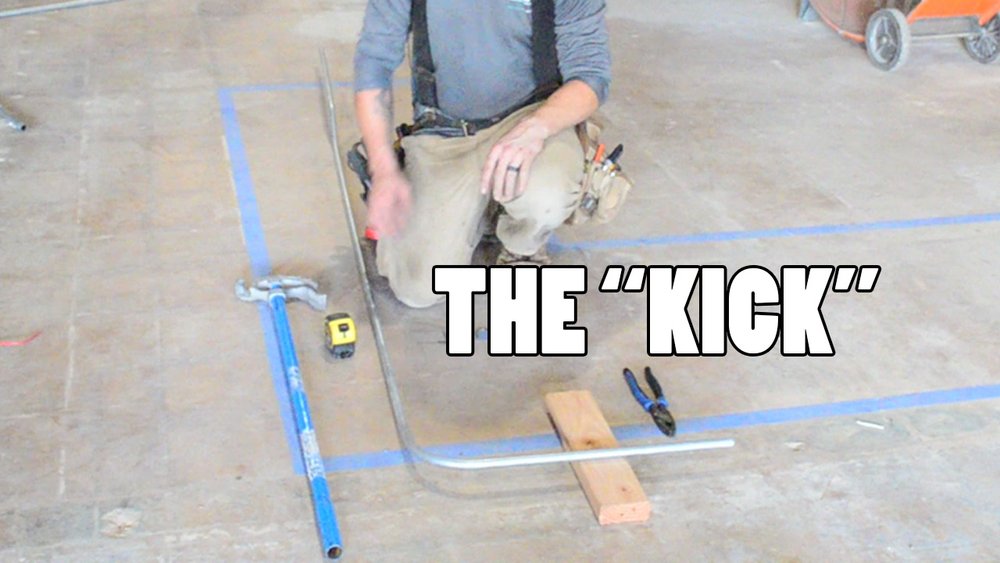
To execute a box offset, place the shoe of the bender at the end of the pipe, as you would a stub 90. Slightly press down on the shoe of the bender until the conduit is between the 10 and 22.5 degree marks on the bender. Once this is set, scoot the pipe back about a 1/2” to 3/4” of an inch behind the first bend and twist/spin the conduit 180 degrees to prepare for the next bend. Next you’ll do the exact same thing, bending the second bend between the 10 and 22.5 degree mark to match the first bend. Now your pipe should make a slight “Z” shape at the end. You should be able to put your tape measure down on the ground and measure roughly a 1/2” space below the end of the pipe and the ground. If it’s too much you may have to use the bender to take out a tiny bit of bend from both bends. If the measurement is too little, you may have to go back and bend each of the bends a tad more.
The final test is to put your bent pipe up to an actual box on the ground or hold it up to the enclosure you’re terminating into, just to check the bend. Make any adjustments necessary. Bending box-offsets takes some time to guage the amount of pressure, angle, and distance between bends to get it right. The more you practice it the better you’ll get so volunteer for this task the next time you’re on a job with a lot of pipe bending!
Offset
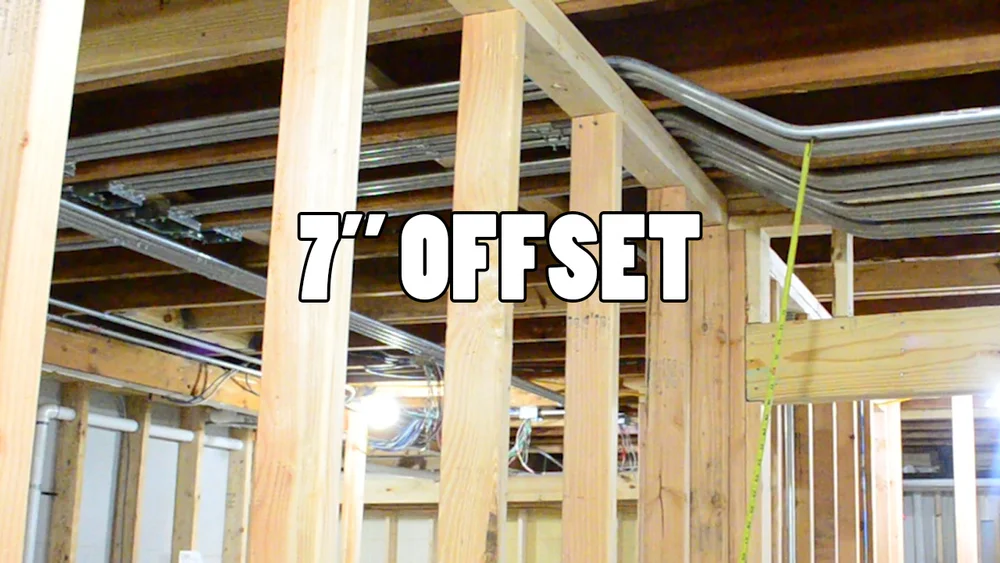
A standard offset is something you will use the heck out of when you have different heights or obstacles in your runs of conduit. Sometimes, rarely…but sometimes, you will work in the ceiling of a building that doesn’t require any offsets. Everything is perfectly straight and can be achieved by straight runs and 90s. But again, this is rare. More often than not you’ll need to bend an offset or two on every job you do, so let’s look at how it’s done.